Here’s a simple, no-bake Peanut Butter Oat Balls recipe that’s quick to make, full of energy,
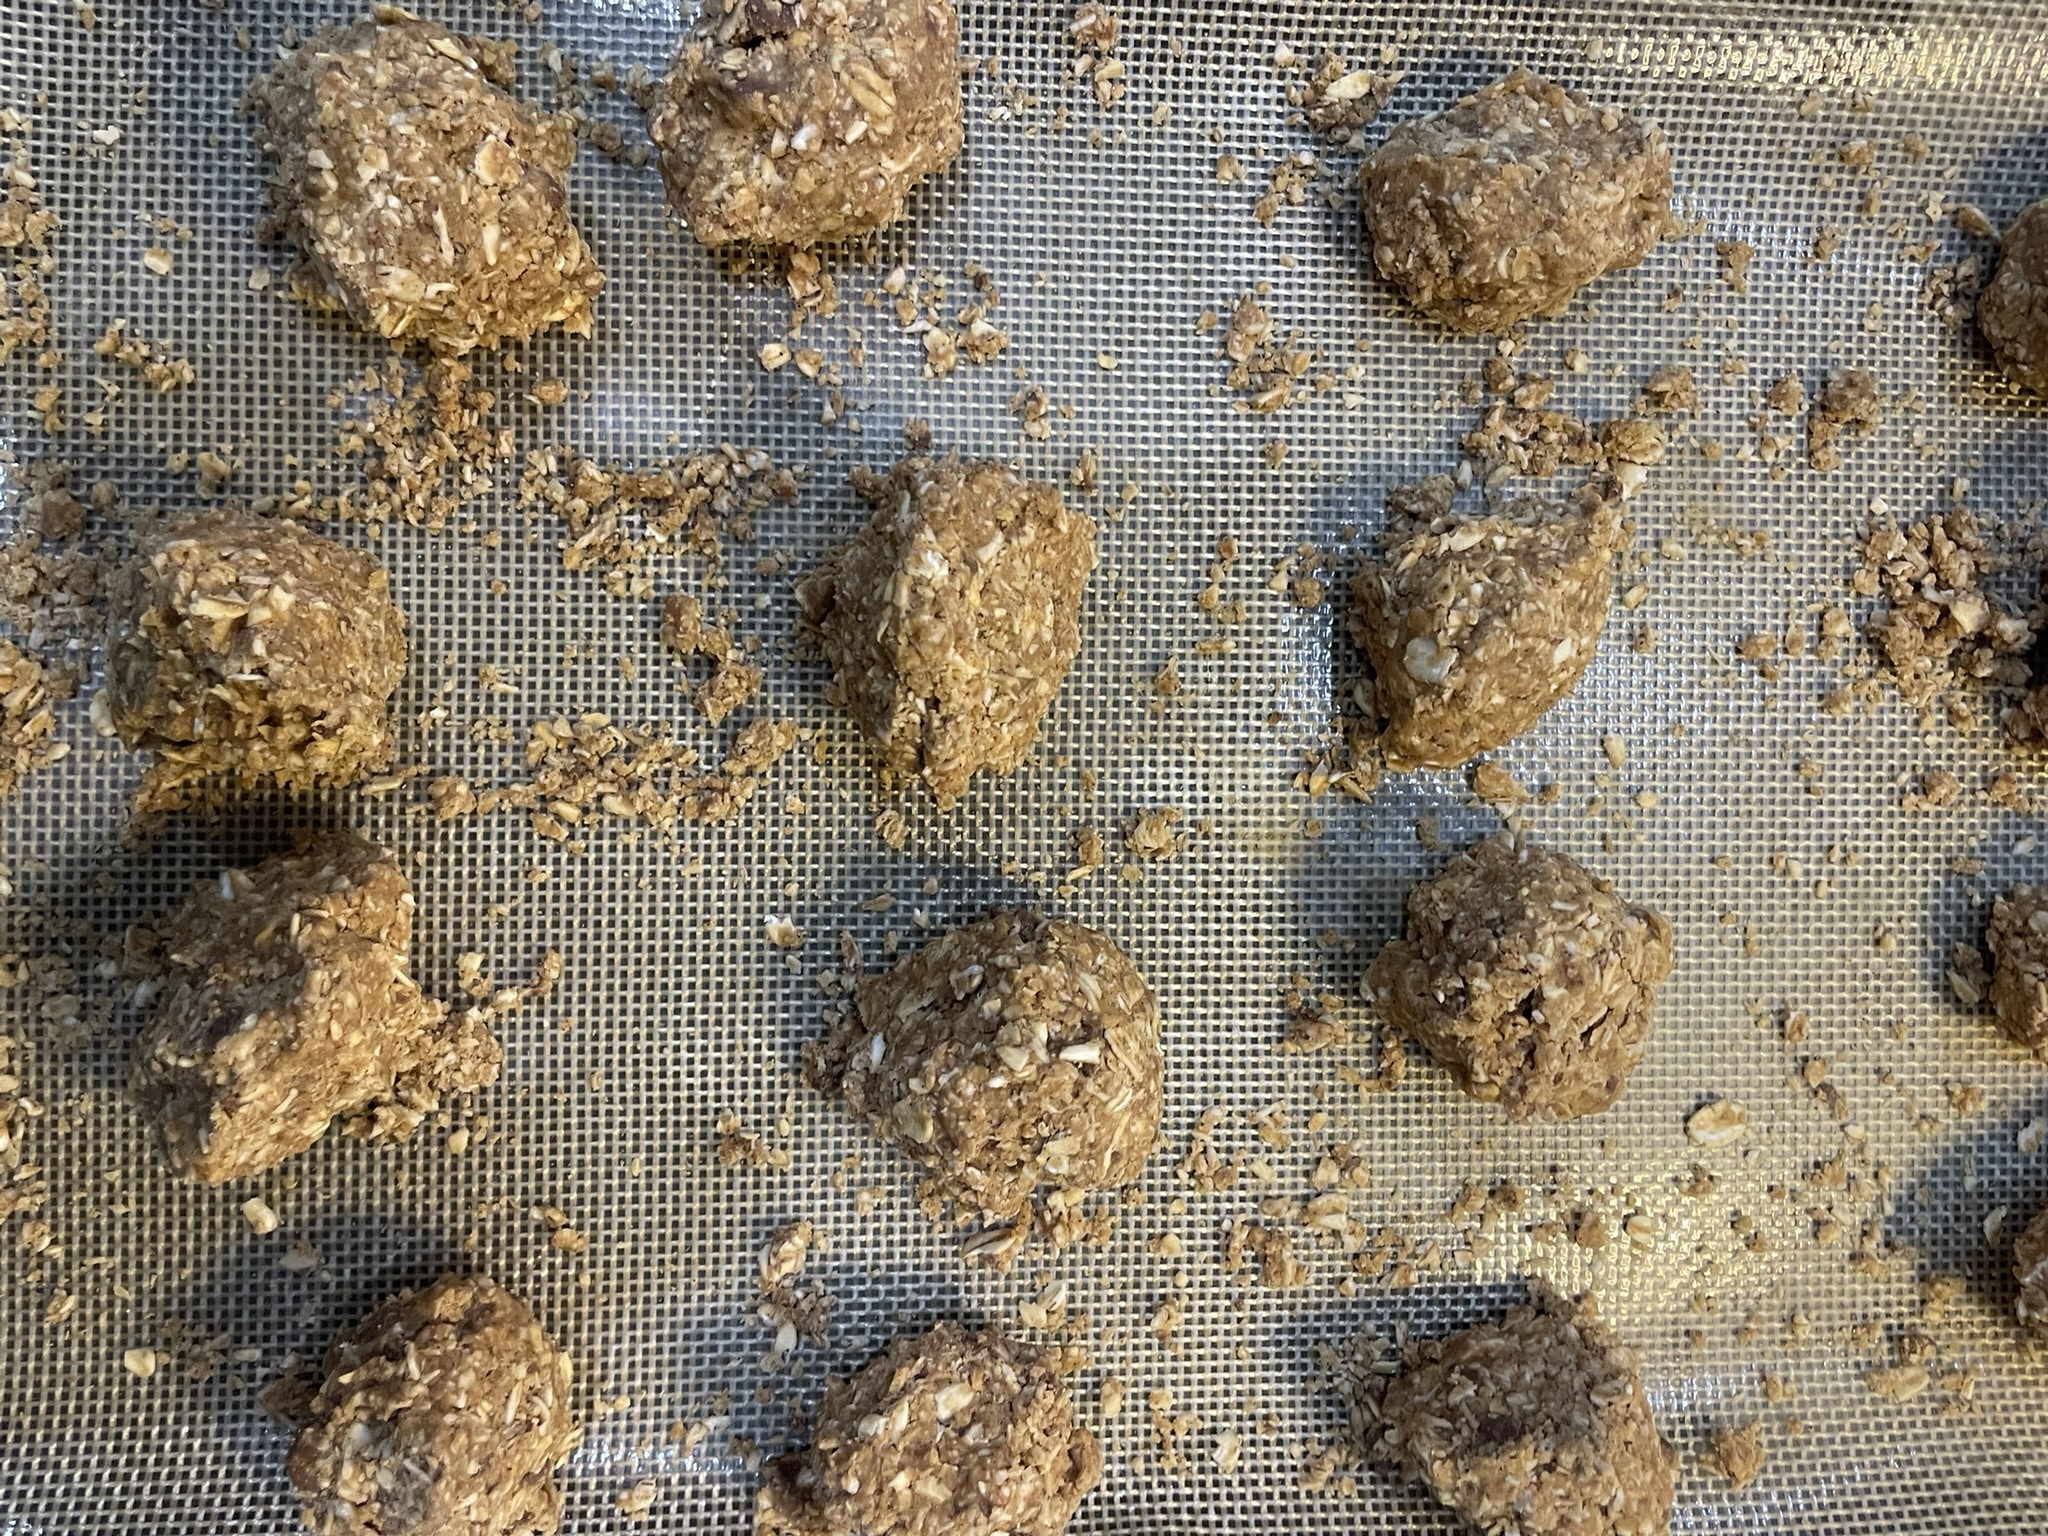
Peanut Butter, Oat Balls
1 cup rolled oats
½ cup peanut butter (creamy or crunchy)
⅓ cup honey or maple syrup (omit honey if child is less than a year old)
1 tsp vanilla extract
Pinch of salt
Optional add-ins:
¼ cup mini chocolate chips 2 tbsp chia seeds or ground flaxseed or coconut flakes
In a large bowl, mix to combine the peanut butter, honey (or maple syrup), and vanilla extract until smooth. Add dry ingredients – Stir in oats, salt, and any optional add-ins you like. Chill the mixture – Place the bowl in the refrigerator for about an hour to firm up (this makes rolling easier). Roll – Scoop about a tablespoon of mixture and roll into balls using your hands. It may help if your hands are slightly wet. Set – Arrange on a parchment-lined tray. You can eat them right away or refrigerate for 1 hour for a firmer texture. Makes about 15 treats.
Summer is here, and that means long, sunny days full of fun—and lots of hungry little tummies! If you’re looking for easy, affordable snack ideas that your kids will actually eat, you’re in the right place.
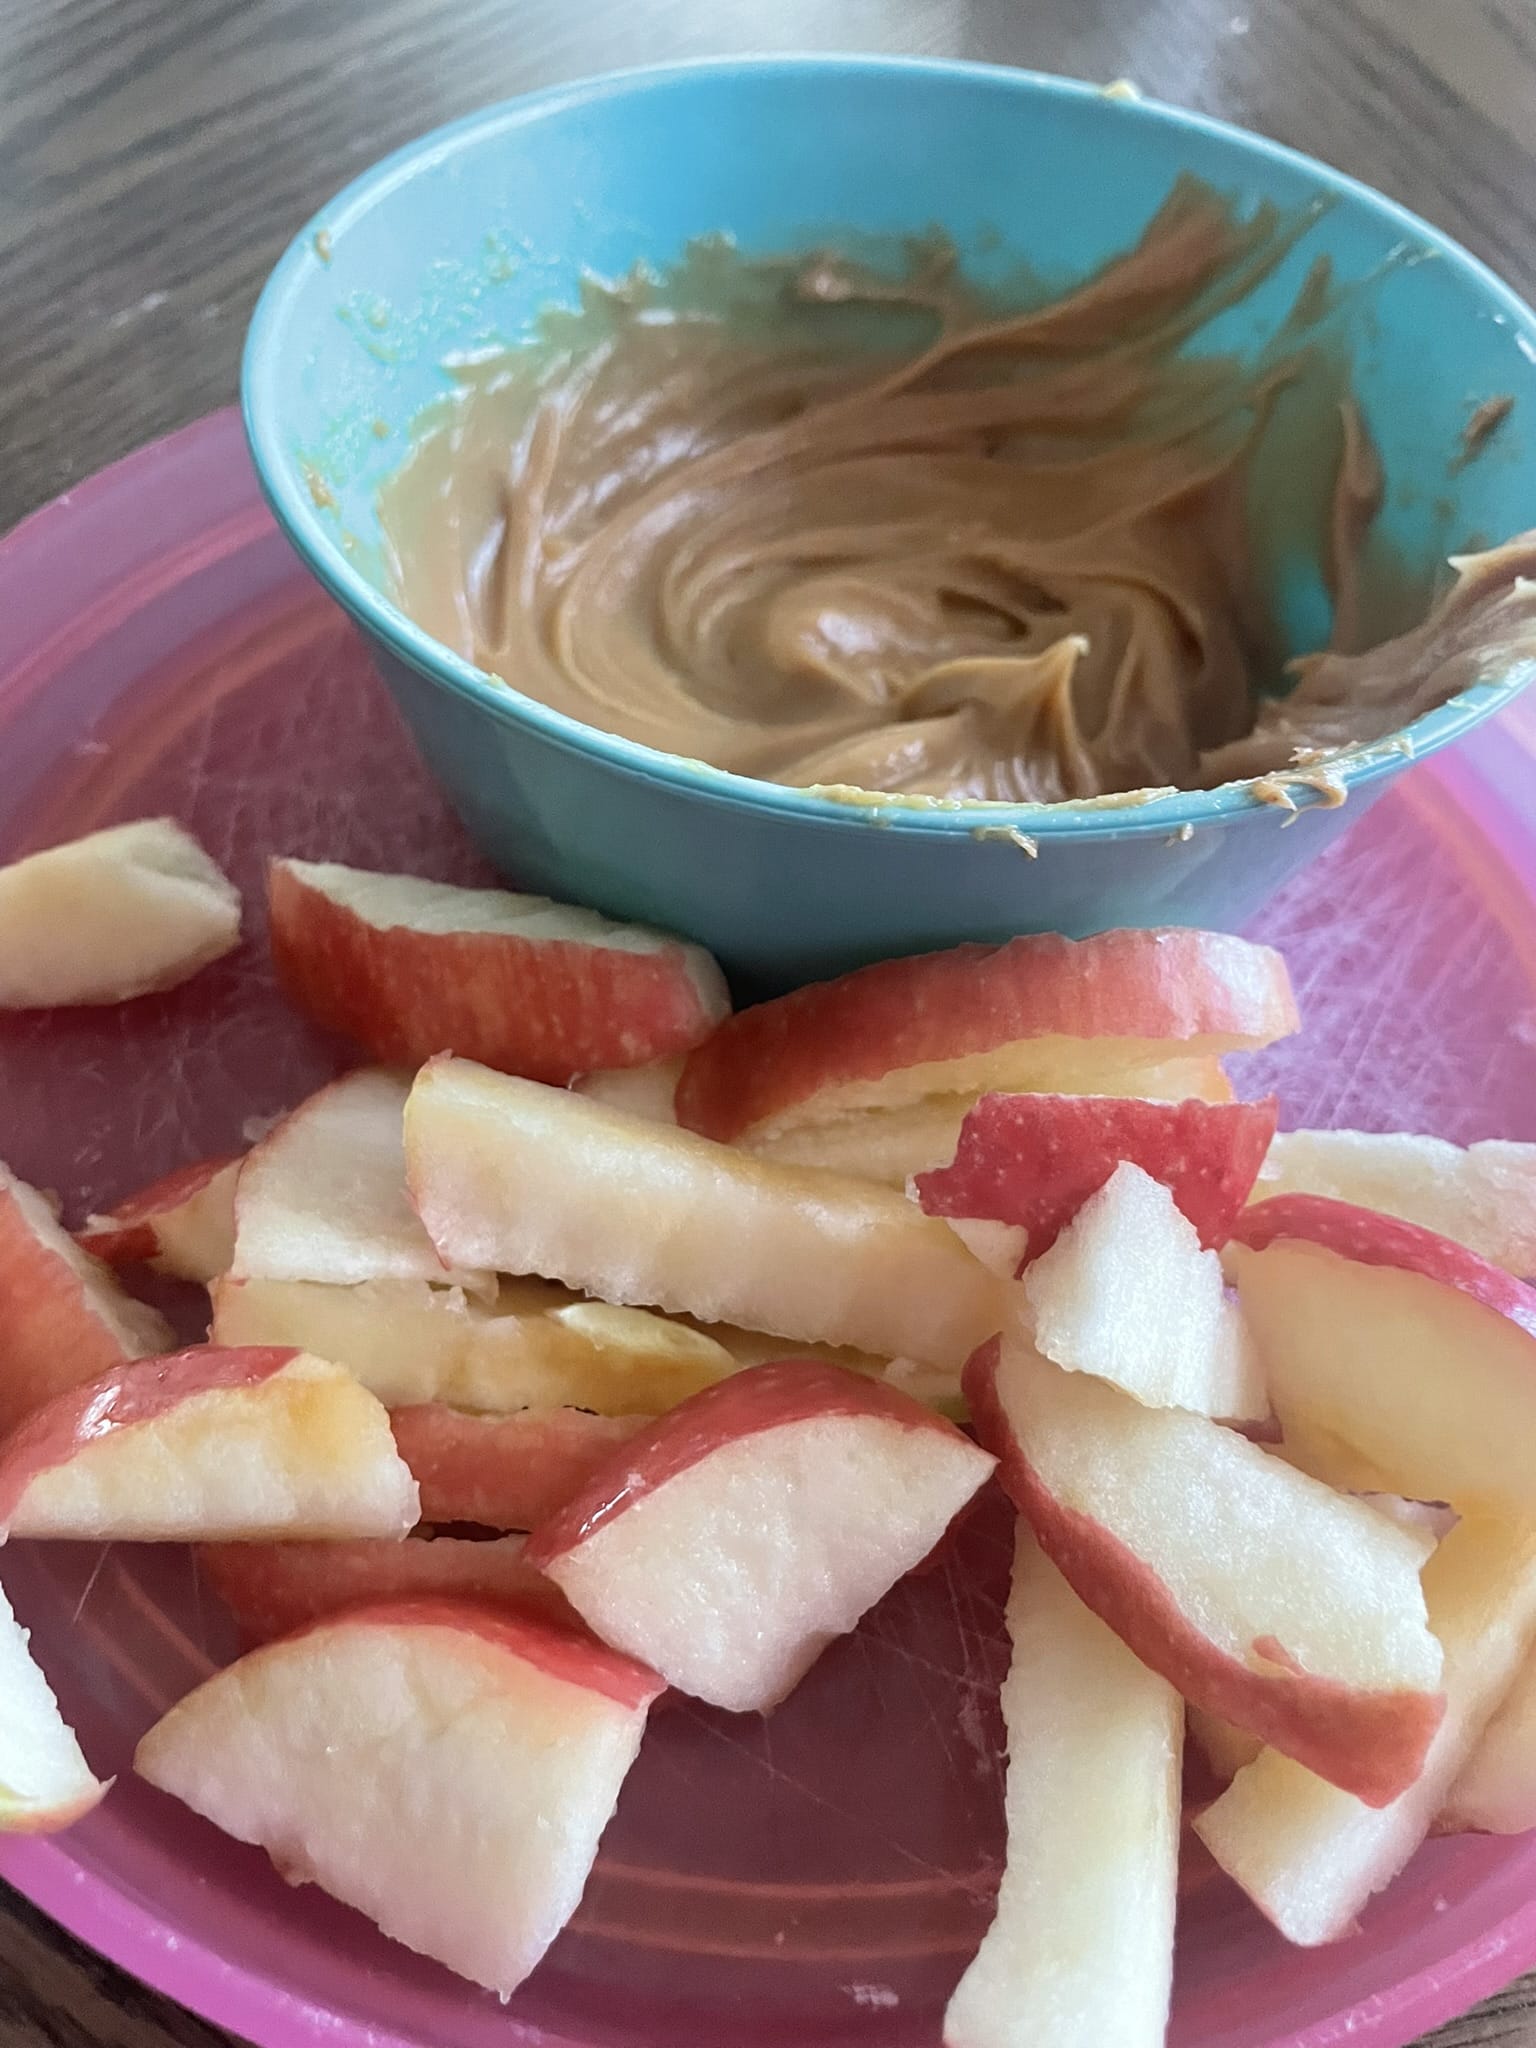
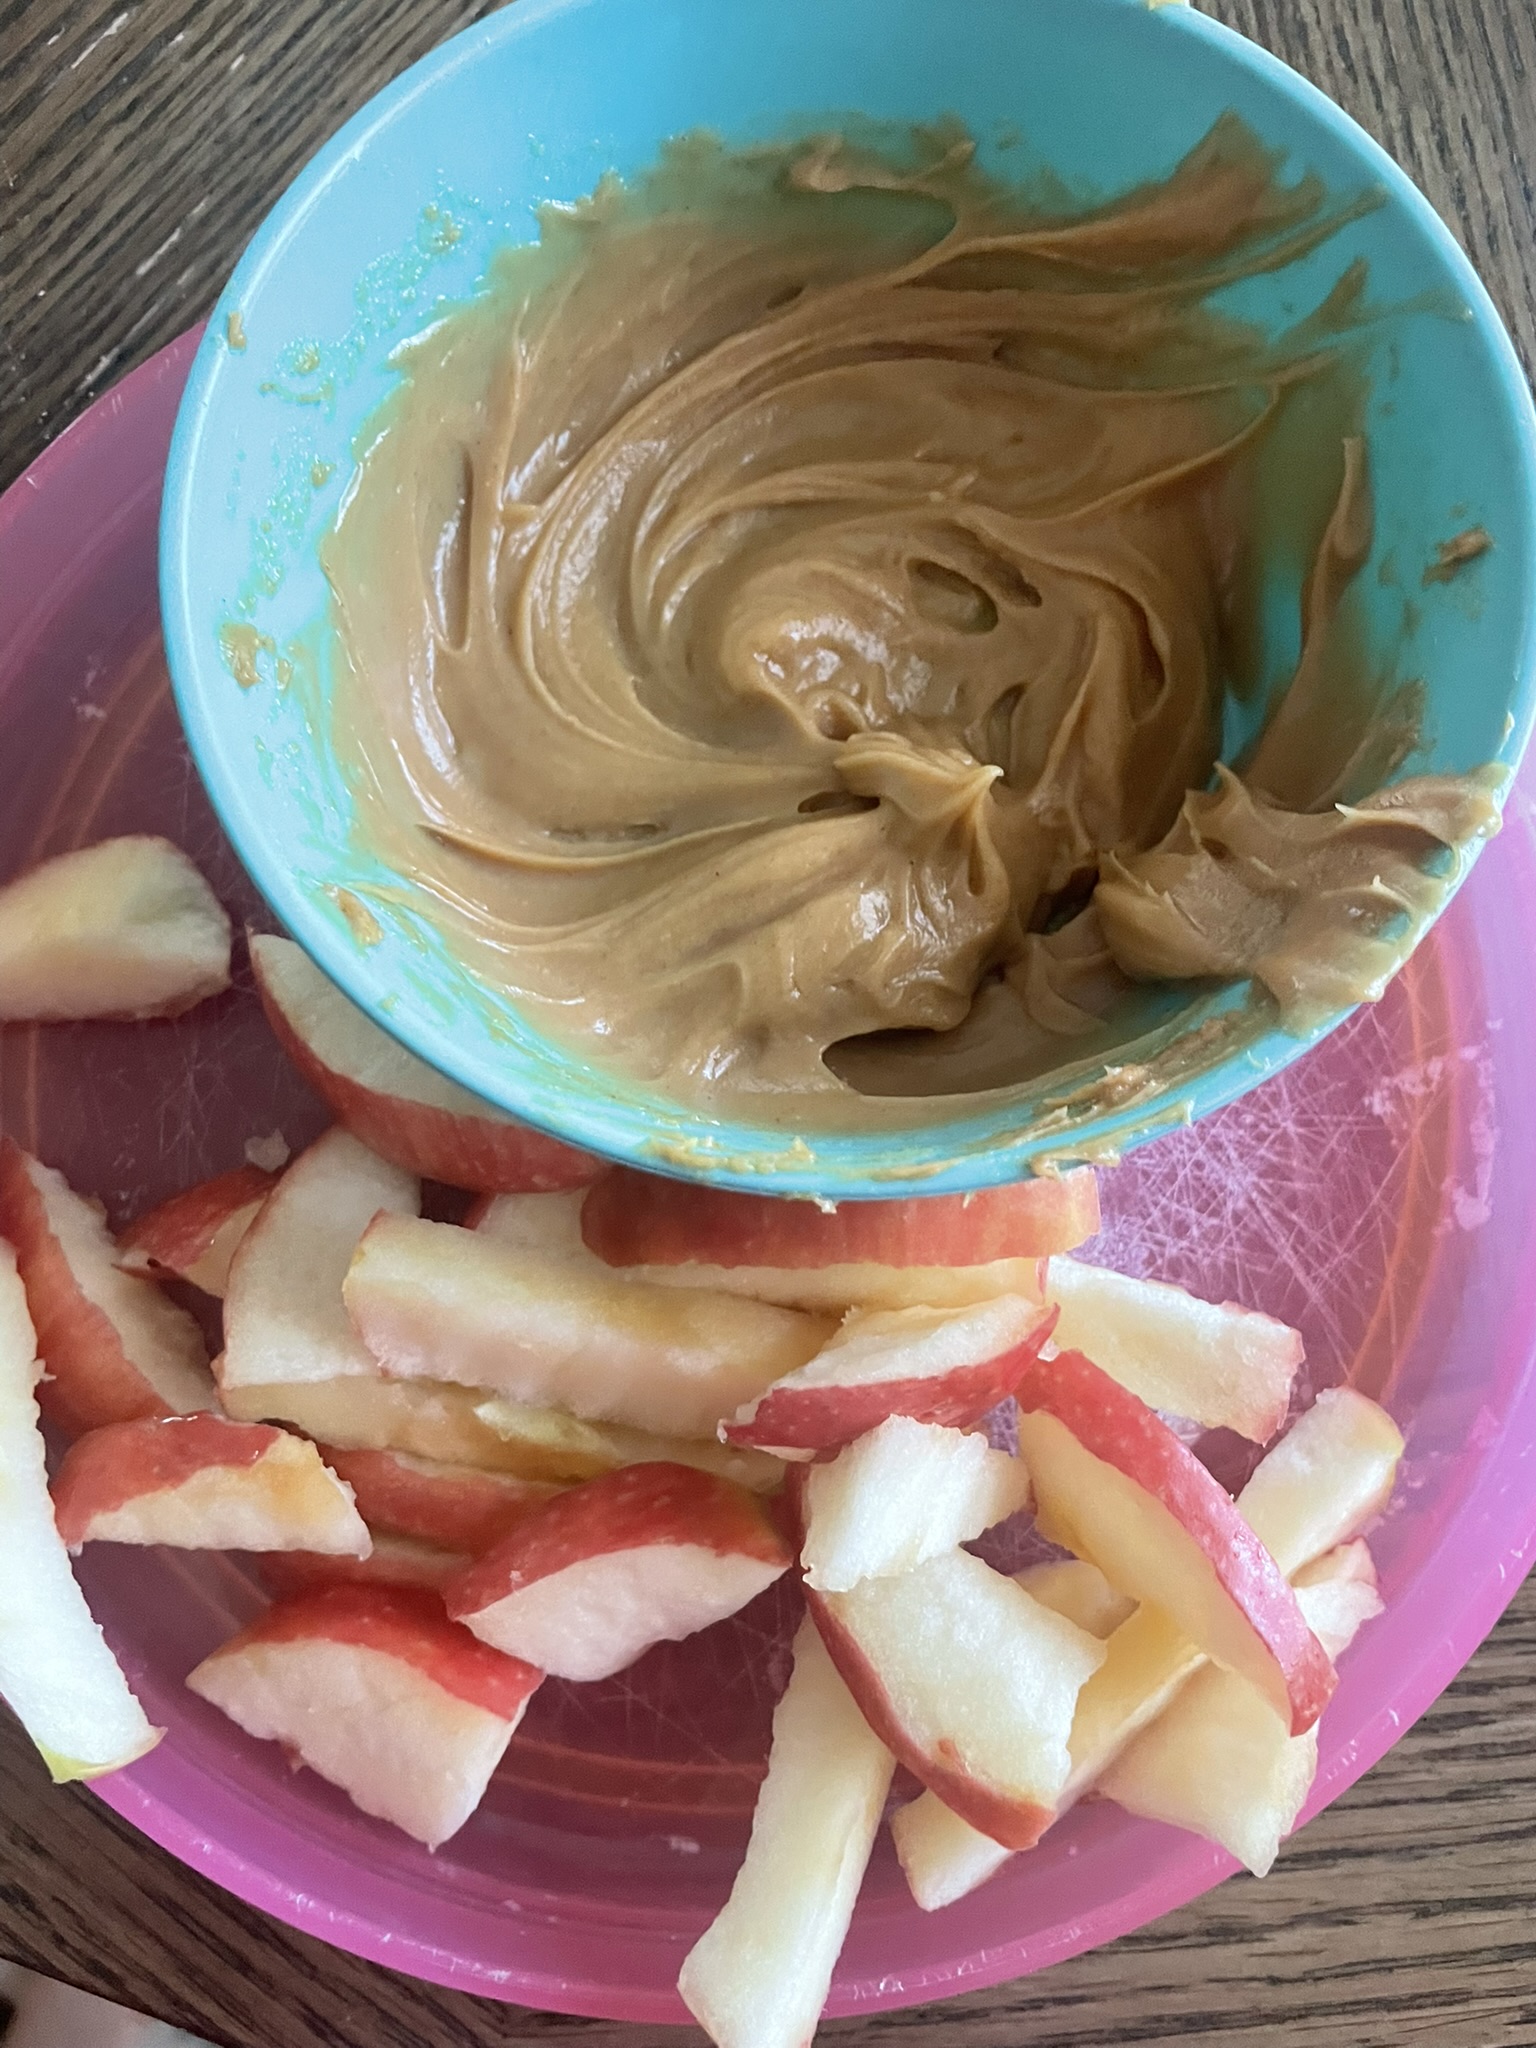
Here is a go-to snack that’s quick, healthy, and super kid-friendly: Creamy Peanut Butter Fruit Dip. It uses just a few ingredients and pairs perfectly with fresh summer fruit.
Creamy Peanut Butter Fruit Dip
Ingredients:
1/4 cup creamy peanut butter
3 to 4 tablespoons milk (adjust for desired consistency)
A splash of vanilla extract (about 1/4 teaspoon)
Optional Add-ins (for extra flavor):
1 to 2 teaspoons honey or maple syrup (for sweetness)
A pinch of cinnamon (for warmth)
In a small bowl, add the peanut butter, 3 tablespoons of milk, and the splash of vanilla. Whisk together until smooth. If the dip is too thick, gradually add the remaining tablespoon of milk until it reaches your desired creamy consistency.
(Optional) Stir in honey/maple syrup or cinnamon if using.
Serve immediately with sliced apples, bananas, strawberries, or any of your favorite fruits.
Tip: Store leftovers in an airtight container in the refrigerator for up to 3 days. Stir before serving.
👩👧👦 Why You Will Love it:
WIC-friendly: Uses common WIC foods like milk, fruit, and peanut butter.
No cooking required: Perfect for hot summer days.
Great for picky eaters: Kids love dipping—this makes fruit more fun!
Portable: Pack it in a lunchbox or take it to the park.
🌞 Bonus Tip:
Freeze sliced bananas or grapes for a cool fruit snack. Dip them in the peanut butter dip for an extra-yummy treat that feels like dessert but is still nourishing!
Making summer snacks doesn’t have to be expensive or complicated. With just a few ingredients, you can whip up something that’s fun and filling.
Pick up peanut butter , milk plus delicious fruit to pair with this dip at a Grocery Services North store today.
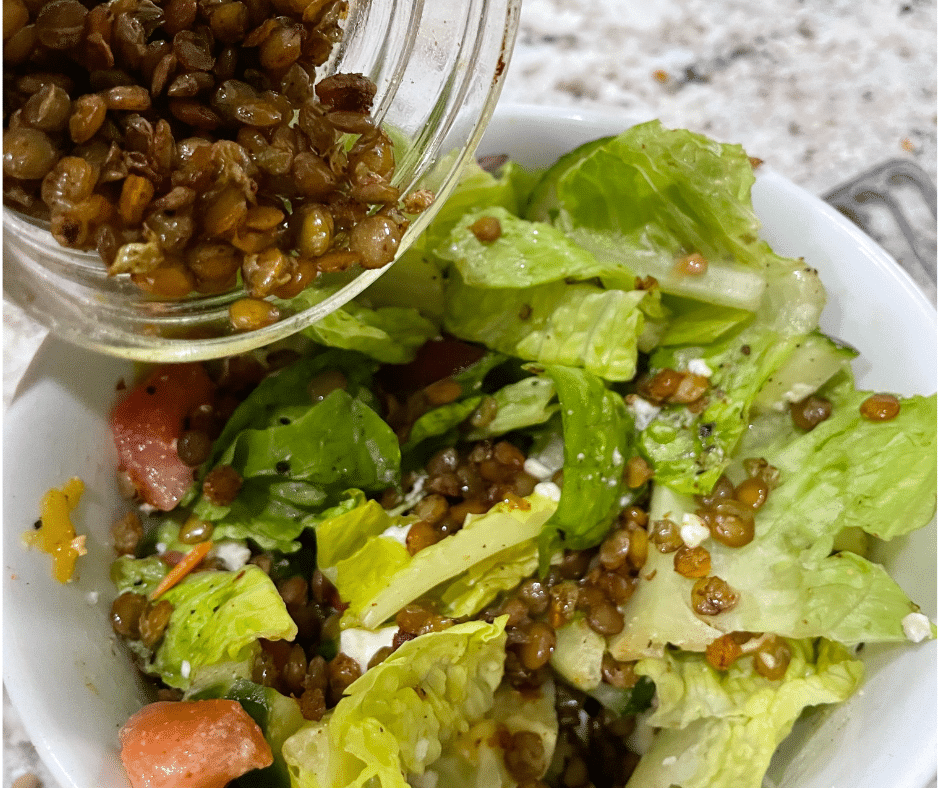
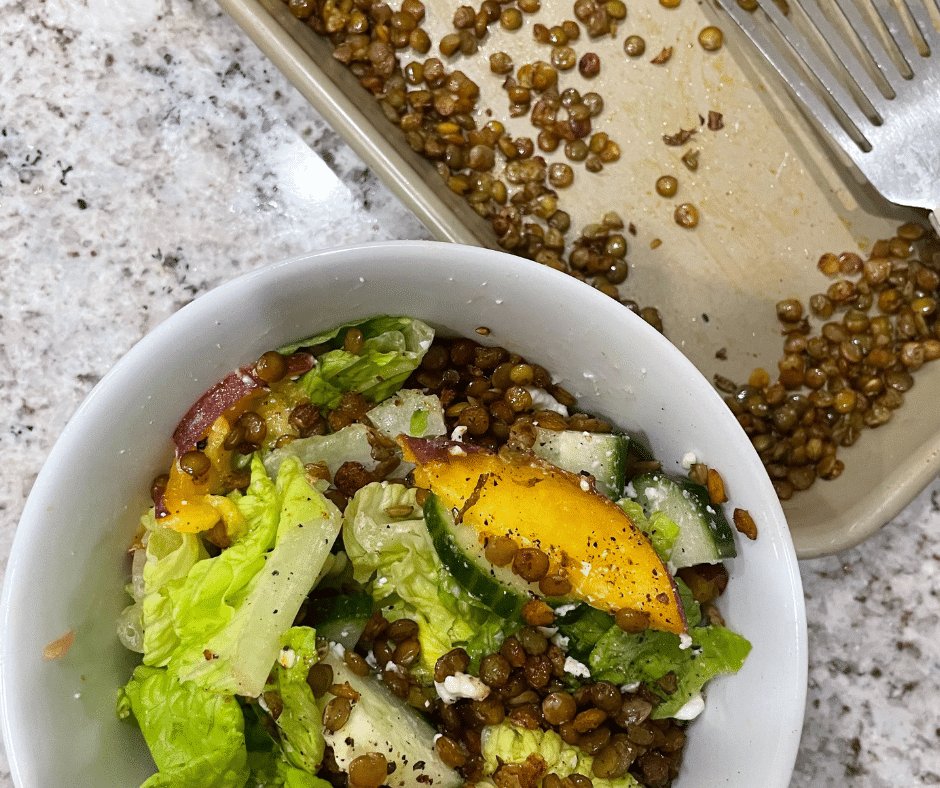
Looking for a healthy, protein-rich snack that’s satisfyingly crunchy and packed with flavor? Say hello to crispy oven-baked lentils! With just a few ingredients and minimal effort, you can create a crave-worthy topping or snack that’s totally addictive and wonderfully versatile.
Lentils are already a nutritional powerhouse—loaded with protein, fiber, and minerals—but roasting them takes their flavor and texture to a whole new level. Once baked, they become crispy little bites of savory goodness that are perfect for:
Snacking by the handful
Topping salads or soups
Adding crunch to bowls and wraps
Crispy Lentil Recipe
1/2 cup dried lentils 2–3 tablespoons olive oil Salt and pepper to taste 1/2 teaspoon paprika 1/2 teaspoon garlic powder Rinse the lentils and boil them in water until just tender (about 15–20 minutes). You want them to be cooked through but not falling apart. Drain well and let them dry completely—this helps get them crispy.Preheat your oven to 360 degrees. Place the cooked, dried lentils in a bowl and toss with olive oil, salt, pepper, paprika, and garlic powder until evenly coated.
Spread the lentils in a single layer on a baking sheet. Bake for 30 minutes, flipping them halfway through to ensure they crisp evenly and don’t burn. Let the lentils cool on the tray—they’ll continue to crisp as they cool. Once completely cooled, store them in an airtight container for up to a week.
OTHER IDEAS
Make them spicy: Add a pinch of cayenne or chili flakes.
Go smoky: Use smoked paprika instead of regular for a deeper flavor.
Try other seasonings: Cumin, curry powder, or nutritional yeast are all great additions.
Whether you’re looking for a healthy snack alternative or a way to elevate your meals, these crispy lentils are your new go-to. Simple, customizable, and incredibly satisfying—you might want to make a double batch!
Pick up your lentils at a Grocery Services North store today.
At Grocery Services North, we love showcasing how easy and delicious fresh produce can be—especially during the summer months! One of our favorite ways to enjoy the season’s best flavors is with this vibrant Black Bean Corn Salsa. Whether you enjoy it with chips, spoon it over tacos, top off your morning eggs, or serve it as a refreshing side dish, this recipe is packed with wholesome ingredients and bold, zesty flavor.
This simple recipe comes together fast and uses the season’s best produce, many of which you can grab at your local Grocery Services North store. The real stars? Fresh Roma tomatoes, jalapeños, lime juice, and cilantro—produce that brings every bite to life.
Black Bean Corn Salsa
1 can corn, drained and rinsed
1 can beans, drained and rinsed (we used pinto beans)
4 medium Roma tomatoes, diced
2 jalapeño peppers, seeded, stemmed, and diced
2 teaspoons garlic (fresh or jarred)
½ medium onion, diced
½ cup cilantro, chopped (optional but highly recommended!)
Juice from two limes
1 tablespoon olive oil
2 teaspoons honey
1 teaspoon ground cumin
1 teaspoon salt
¼ teaspoon ground black pepper
Combine all ingredients in a large bowl.Stir well to mix all the flavors together. Refrigerate for at least 1 hour to let the flavors meld. Serve chilled—and enjoy!
This salsa keeps well in the fridge for a few days, so feel free to make it ahead of time or enjoy the leftovers as a snack or side.
Eat Fresh.
The key to a great salsa is fresh ingredients, and we’ve got you covered. Visit your nearest Grocery Services North location to find fresh produce for your next recipe —from crisp Roma tomatoes to juicy limes and spicy jalapeños.
This summer, let your meals shine with the bold, fresh flavors of homemade salsa. Grab your ingredients, and get mixing!
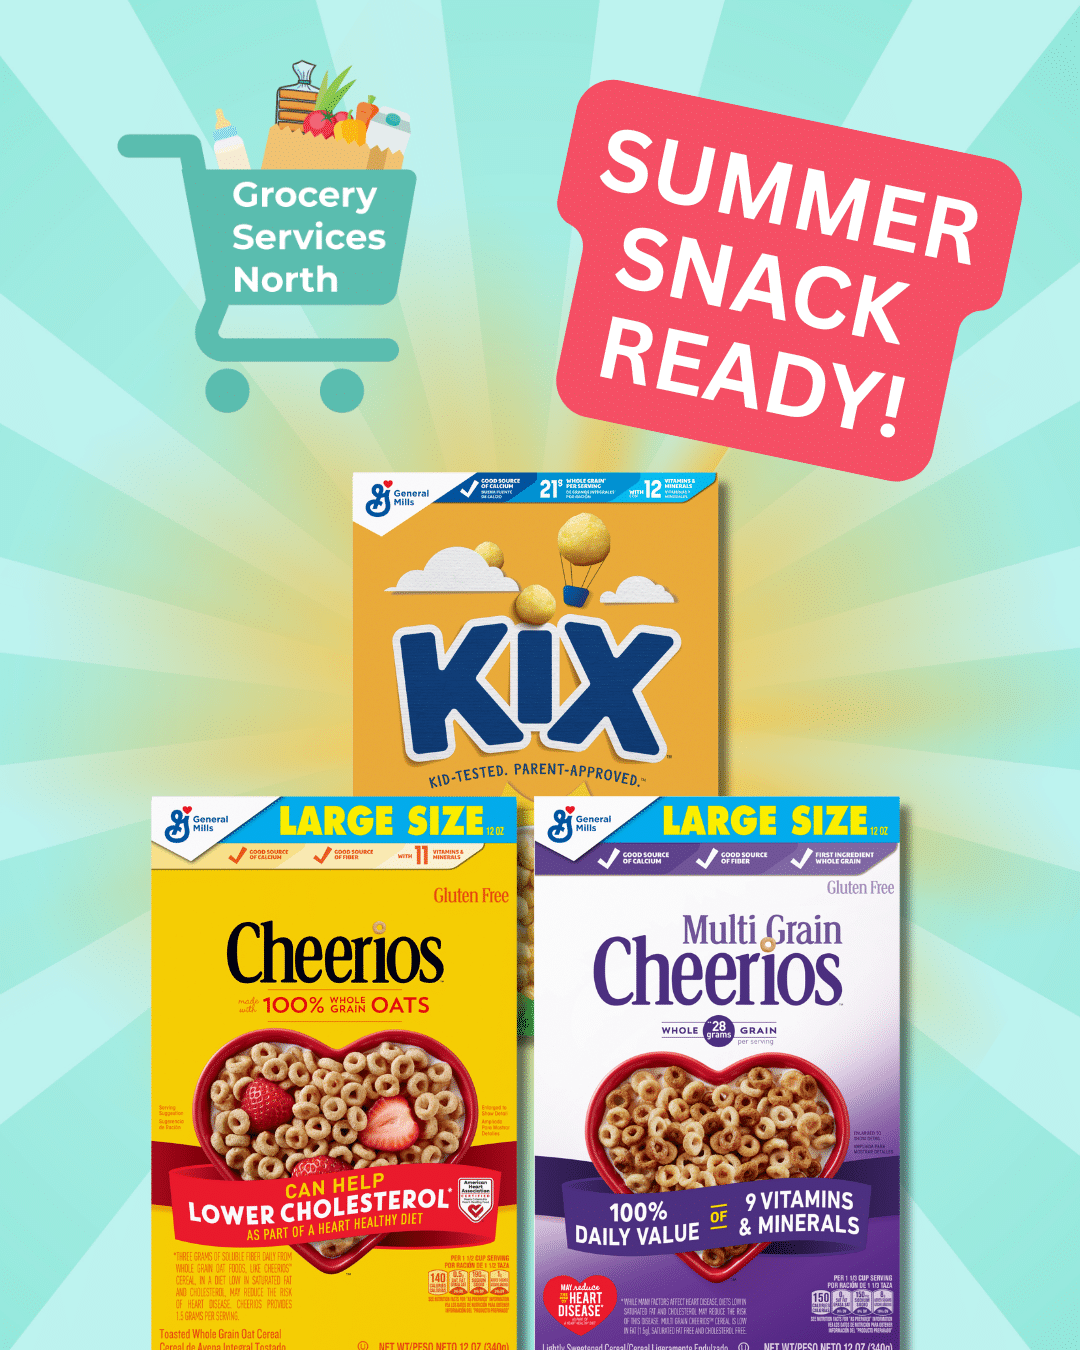
Cereals like Cheerios, Multigrain Cheerios, and Kix meet WIC standards—so you know they’re wholesome for kids. They’re made with whole grains, packed with fiber, and stay under sugar limits, making them a great guilt‑free choice for between‑meal munching.
Fiber + Whole Grains = Full Tummies
Cheerios: Made with 100% whole‑grain oats (34 g per serving) plus 1.5 g soluble fiber—heart‑healthy and filling!
Multigrain Cheerios: Each serving delivers 28 g whole grain and 3 g fiber, and is low‑fat and cholesterol‑free—a snack that supports heart health.
Kix: Whole‑grain corn puffs with about 21 g whole grain per serving, 3 g fiber, calcium, vitamin D, and iron—basic, crunchy goodness.
Nutrients That Matter
Cereals aren’t just crunchy—they’re nutrient powerhouses: iron, B‑vitamins, vitamin D, calcium—and all while being low in fat and cholesterol. They support healthy growth, strong bones, and steady energy.
Snack Hacks That Are Pure Genius
Sprinkle into yogurt for a creamy‑crunch combo
Pack handfuls in zip‑bags for poolside or car travel
Eat by the handful — simple, satisfying, and easy!
We carry a large selection of WIC‑approved cereals that are perfect any time of day, and make the perfect snack. Kix, Cheerios, and Multigrain Cheerios are great staples to keep on hand for healthy breakfasts or easy snack creations.
6 Simple Summer Recipes Kids Will Love
No‑Bake Peanut‑Butter Cheerios Bars
Quick, portable, and great for picnics—no oven needed!
Ingredients: 3 cups plain Cheerios, ½ cup peanut butter, ½ cup honey Warm peanut butter + honey, stir in Cheerios, press into a pan, chill until firm. Cut into bars.
Cheerios Trail Mix Cups
Ingredients: 2 cups Cheerios or Multigrain Cheerios, ⅓ cup raisins, ⅓ cup pretzels, ½ cup mixed nuts or seeds (if serving to bigger kids). Combine and store in small containers.Easy to portion and healthy—just mix pantry items!
Frozen Yogurt–Cereal Pops
Ingredients: 1 cup plain Greek yogurt, ½ cup chopped berries, ½ cup crushed Kix or Multigrain Cheerios, honey to taste Stir yogurt + berries + honey, layer with cereal in popsicle molds, freeze 3+ hours. Cool and refreshing!
Kix–Fruit Pancake Cones
Ingredients: Pancake batter, a handful of Kix, sliced fruit, whipped cream or yogurt Make thin pancakes, shape into cones, fill with fruit + yogurt + Kix. A playful, portable twist on breakfast!
Banana‑Cheerio Frozen Bites
Ingredients: 1 banana, ½ cup yogurt melts, 1 cup Cheerios Slice banana, roll each in yogurt melts then Cheerios, freeze. Ice‑cream vibes, minimal prep—it’s a kid favorite!
Multigrain Raspberry‑Peach Pops
Ingredients: 1 cup raspberries, ⅔ cup peaches, 1 1/3 yogurt, 5 Tbsp honey, ⅔ cup crushed Multigrain Cheerios Puree fruit, mix with yogurt + honey, stir in cereal, fill molds, freeze 3‑4 hrs. Colorful, fruity and crunchy! Perfect for hot days.
Summer Snacking Tips
• Prep ahead on Sunday—bars, pops, cones keep well for quick grab‑and‑go snacks. • Kid‑friendly assembly—kids can help stir, layer, or freeze. • On the go—wrap bars or freeze pops in lunchboxes for cooling snacks.
Find Them at Grocery Services North
We stock all WIC‑approved cereals you need—grab Kix, Cheerios, or Multigrain Cheerios are just a few you can use to start making these recipes today. Store shelves are ready for your summer plans!
From Parfaits to Pancakes, Your Little One Will Love These
Feeding little ones can be a challenge, especially when you’re short on time or dealing with picky eaters. Luckily, baby food isn’t just for spoon-feeding straight from the container. With a little creativity, those baby food jars can become key ingredients in tasty, nutritious meals your baby or toddler will love. Here are some simple and wholesome recipes using common baby food flavors.
Pick up your organic baby food at Grocery Services North today to start making these fun recipes:
Banana Oatmeal Pancakes (Perfect for Baby-Led Weaning)
1 jar Banana baby food
1/2 cup Oatmeal Cereal
1 egg
Dash of cinnamon (optional)
Mix all ingredients in a bowl until smooth. Heat a non-stick pan over medium heat and drop spoonfuls of the batter. Cook for 2-3 minutes on each side until golden. Let cool slightly before serving. These make great finger foods!
Fruity Yogurt Parfait (Toddler Snack or Dessert)
1 jar Apple Banana Pear baby food
1 jar Mixed Berry baby food
1/2 cup plain Greek yogurt
In a small cup, layer yogurt, apple banana pear puree, and berry puree. Top with crushed cereal for texture. Serve chilled with a toddler spoon.
Turkey Veggie Pasta Sauce (Family-Friendly Meal)
1 jar Turkey baby food
1 jar Mixed Vegetables baby food
1/4 cup pasta water
Small (or cut up) cooked pasta
Combine baby food jars and broth in a saucepan. Heat until warmed through and slightly thickened. Toss with cooked pasta and serve.
1 cup Multigrain Infant Cereal or Organic Oatmeal Cereal
1 cup whole wheat flour (or all-purpose flour)
1 tsp baking powder
1/2 tsp baking soda
1/2 tsp cinnamon (optional)
1 jar (4 oz) Banana baby food (or Apple, Apple Banana Pear, or Pear)
1 jar (4 oz) Apple Mango or Mixed Berry baby food
1 egg
1/4 cup milk (or formula)
2 tbsp olive oil or melted coconut oil
1 tsp vanilla extract (optional)
Preheat oven to 350 degrees. Grease a mini muffin tin or line with paper liners. In a large bowl, whisk together the cereal, flour, baking powder, baking soda, and cinnamon. In another bowl, mix together the baby food purees, egg, milk, oil, and vanilla. Add the wet ingredients to the dry and stir just until combined (do not overmix). Spoon batter into mini muffin cups, filling each about 3/4 full. Bake for 12–15 minutes, or until a toothpick comes out clean.
Let cool before serving. Store in the fridge for 3–4 days or freeze for later.
With these easy and delicious ideas, you can turn baby food jars into family-friendly meals and snacks. Whether you’re cooking for a baby, toddler, or just need a quick kid-approved dish, these recipes help reduce food waste and expand your little one’s palate.
Pick Up Garlic Today at Grocery Services North, Spice Up Your Next Meal
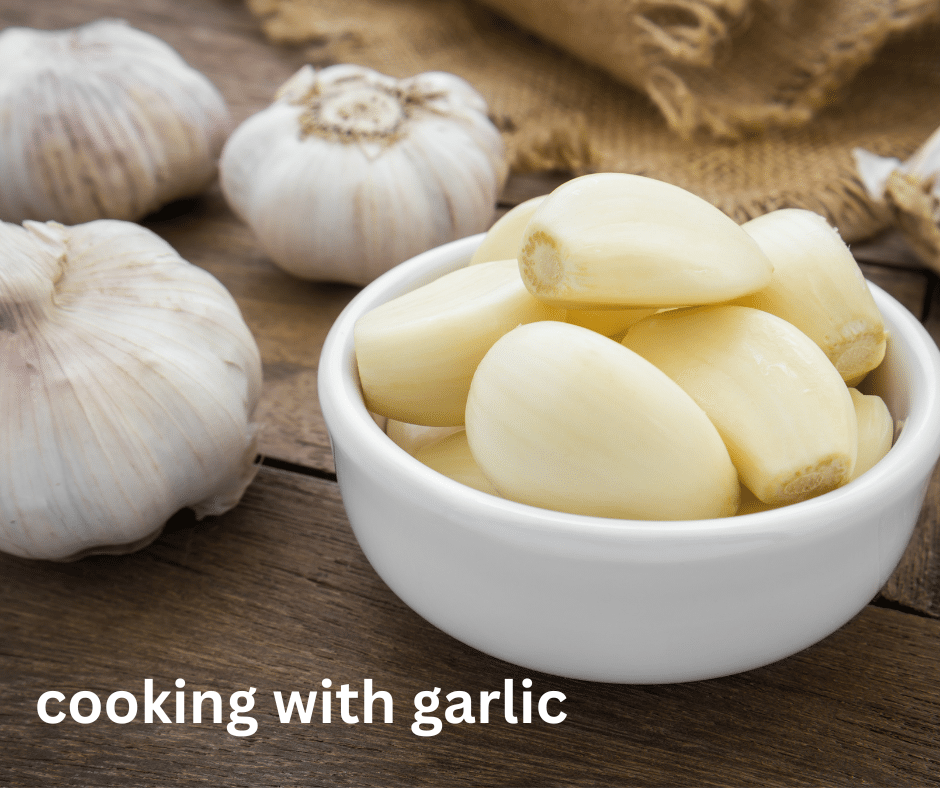
Garlic has been loved for centuries—not just for its strong, tasty flavor, but also for how good it is for your health. Whether you’re a confident cook or just starting out, adding more garlic to your summer meals is an easy and tasty way to feel better and make your food more flavorful.
Why Cook with Garlic?
Garlic is more than a kitchen staple — it’s a nutritional powerhouse. Healthy benefits of garlic, experts say, may help your immune system, heart, and help fight chronic diseases.
With so many health perks, garlic deserves to shine — especially in summer dishes where its bold flavor can elevate fresh produce. Below are some easy, flavorful summer recipes that let garlic work its magic.
Fresh & Flavorful: Garlic-Inspired Summer Recipes
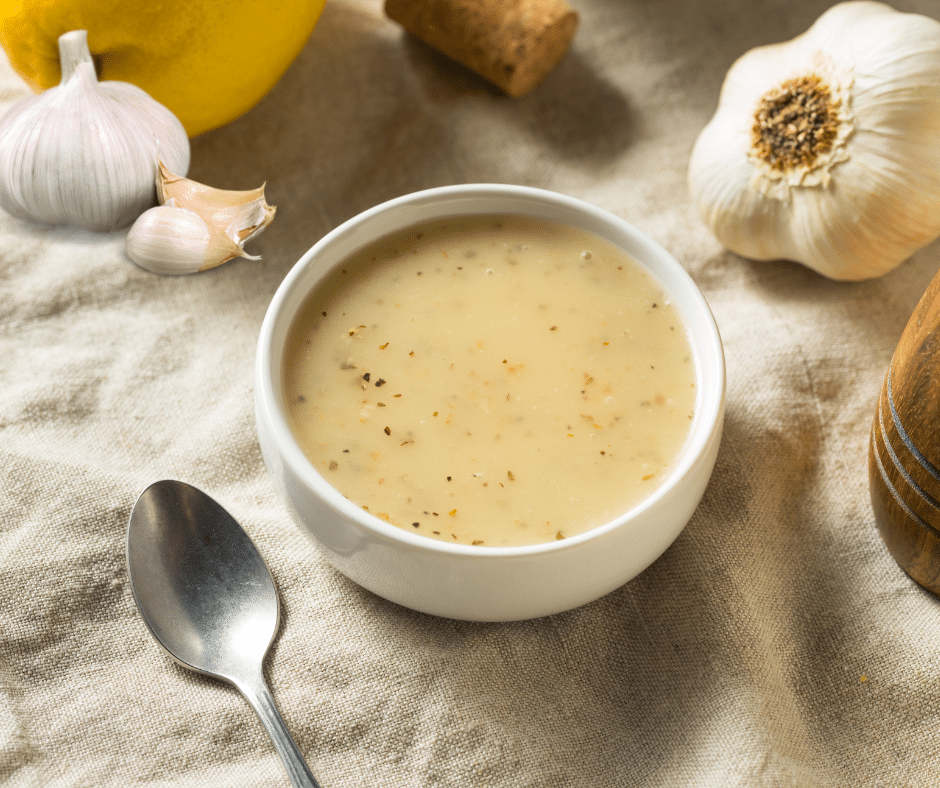
Zesty Garlic-Lemon Vinaigrette
Perfect for leafy greens, grilled vegetables, or even pasta salads.
2 cloves garlic, minced
1/3 cup extra-virgin olive oil
Juice of 1 lemon
1 tsp Dijon mustard
1 tsp honey or maple syrup (optional)
Salt and freshly ground pepper to taste
Whisk all ingredients together in a bowl or shake in a jar. Let it sit for 10 minutes to let the flavors combine. Drizzle over your favorite salad or grain bowl.
Creamy Garlic-Yogurt Dressing
A light and tangy alternative to heavy dressings — great on cucumber or tomato salads.
1/2 cup plain Greek yogurt
1 small garlic clove, finely grated
2 tbsp olive oil
1 tbsp white wine vinegar or lemon juice
1 tsp chopped fresh dill or other herbs (optional)
Salt and pepper to taste
Combine all ingredients in a bowl and whisk until smooth. Adjust seasoning to taste and chill before serving.
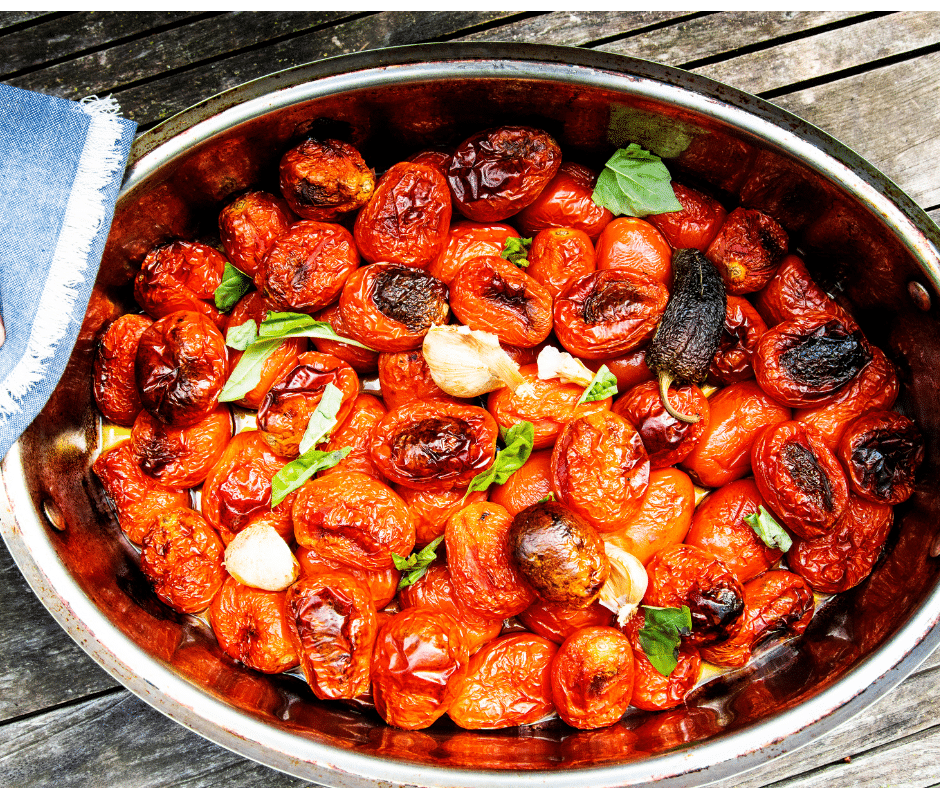
Garlic-Roasted Tomatoes
Use as a topping for bruschetta, pasta, or grain bowls.
2 cups diced fresh, tomatoes
3 cloves garlic, thinly sliced
2 tbsp olive oil
Salt and pepper
A pinch of red pepper flakes (optional)
Preheat oven to 400 degrees. Toss tomatoes with garlic, oil, and seasonings. Roast for 15–20 minutes until tomatoes are bursting and slightly caramelized. Serve warm or at room temperature.
Garlic isn’t just a bold and beautiful flavor booster — it’s a functional food that supports your health from the inside out. This summer, celebrate the season’s fresh produce by incorporating garlic into your dressings, dips, and roasted vegetables. Simple, wholesome, and packed with benefits, garlic is a kitchen MVP you’ll never want to be without.
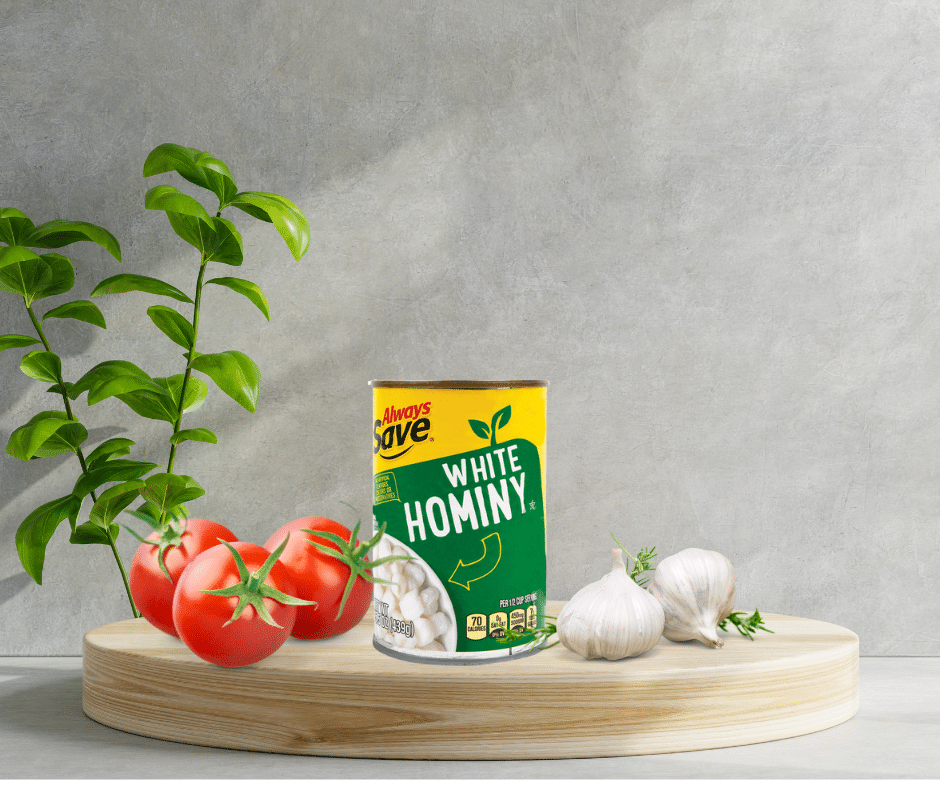
As a busy mom, it’s important to find nutritious, easy-to-make meals that your family will love. One great WIC-approved food to add to your shopping list is canned hominy.
Hominy is known for its versatility and ability to add both flavor and nutrition to a variety of dishes. Canned hominy is particularly convenient since it’s already cooked and ready to use, which makes meal prep a breeze. It’s high in fiber, iron, and other essential nutrients—making it a great choice for your family’s health. Plus, its mild, slightly nutty flavor makes it perfect for a variety of traditional dishes with a twist.
Let’s dive into a few simple, delicious recipes using canned hominy that you and your family will love, all while using WIC-approved foods.
Looking for a way to kick off your day with something nutritious and satisfying? This breakfast skillet featuring hominy is a delicious and hearty option that will keep everyone energized.
Hominy Breakfast Skillet
1 can of hominy, drained and rinsed
4 eggs
1/2 onion, chopped
1/2 bell pepper, chopped
1/2 cup of shredded cheese (optional)
Salt and pepper to taste
Fresh cilantro (optional)
Heat a skillet over medium heat and add a bit of oil.
Sauté the onions and bell peppers until softened, about 5 minutes.
Add the hominy and cook for an additional 5-7 minutes, allowing it to lightly brown and crisp up.
Crack the eggs directly into the skillet, scrambling them into the hominy and vegetables.
Once the eggs are cooked through, sprinkle the dish with shredded cheese and let it melt.
Season with salt, pepper, and fresh cilantro.
Serve hot for a filling breakfast.
Hominy and Bean Tacos
1 can of hominy, drained and rinsed
1 can of black beans or pinto beans, drained and rinsed
1 small onion, chopped
1 tsp cumin
1/2 tsp chili powder
Salt and pepper to taste
8 small corn tortillas
Fresh cilantro (optional)
Lime wedges (optional)
Heat a skillet over medium heat and add a splash of oil.
Sauté the onions until soft, about 3-4 minutes.
Add the hominy, beans, cumin, chili powder, salt, and pepper. Stir to combine, and cook for another 5-7 minutes, until heated through.
Warm the corn tortillas in a separate pan or microwave.
Spoon the hominy and bean mixture into the tortillas.
Garnish with fresh cilantro and a squeeze of lime, if desired.
Serve warm and enjoy!
Tip: These tacos can be customized with any toppings your family enjoys, such as salsa, avocado, or cheese.
A warm, comforting soup is perfect for any time of year, and this hominy soup is both filling and nutritious. It’s easy to make and a great way to incorporate hominy into a traditional dish.
Sopa de Hominy (Hominy Soup)
1 can of hominy, drained and rinsed
1/2 lb chicken (breast or thighs), cooked and shredded
1 medium onion, chopped
2 garlic cloves, minced
1 carrot, sliced
1 potato, diced
1 tomato, chopped
4 cups of chicken or vegetable broth
1 tsp ground cumin
1/2 tsp oregano
Salt and pepper to taste
Fresh cilantro, chopped (for garnish)
In a large pot, heat a little oil and sauté the onions and garlic until fragrant, about 3 minutes.
Add the carrots, potatoes, and tomato, and cook for another 5 minutes.
Add the chicken broth, cumin, oregano, salt, and pepper. Bring to a boil, then lower the heat to a simmer.
Once the vegetables are tender, add the shredded chicken and hominy. Let it cook for another 5-10 minutes, allowing the flavors to meld together.
Taste and adjust the seasonings as needed.
Serve hot, garnished with fresh cilantro.
This casserole combines the goodness of hominy with tangy salsa verde and melted cheese, creating a dish that’s perfect for dinner or a festive gathering. It’s simple, hearty, and full of flavor.
Hominy and Salsa Verde Casserole
1 can of hominy, drained and rinsed
2 cups of cooked shredded chicken
1 cup of salsa verde (store-bought or homemade)
1 cup of shredded cheese (cheddar, mozzarella, or your favorite)
1/2 cup of sour cream (optional)
1/4 cup chopped fresh cilantro
Preheat your oven to 375°F (190°C).
In a large mixing bowl, combine the hominy, shredded chicken, salsa verde, and half of the shredded cheese. Mix well.
Transfer the mixture to a greased baking dish and spread evenly.
Top with the remaining cheese.
Bake for 20-25 minutes, or until the cheese is melted and bubbly.
Let the casserole cool for a few minutes, then top with a dollop of sour cream and fresh cilantro before serving.
Whether you’re making tacos, soups, casseroles, or breakfast skillets, hominy adds a deliciously satisfying texture and boosts the nutritional value of any meal. So, the next time you’re at Grocery Services North, grab a few cans of hominy and start experimenting with these simple recipes. Your family will thank you for it!
If you have little ones, you’re always on the lookout for ways to make quick meals that are both delicious and nutritious. If you’re part of the WIC program, you know that making the most of the healthy foods available is key to feeding your family well. One ingredient that might not always be top of mind but is packed with nutrients and versatility is canned pumpkin puree. It’s full of fiber, vitamins, and minerals.
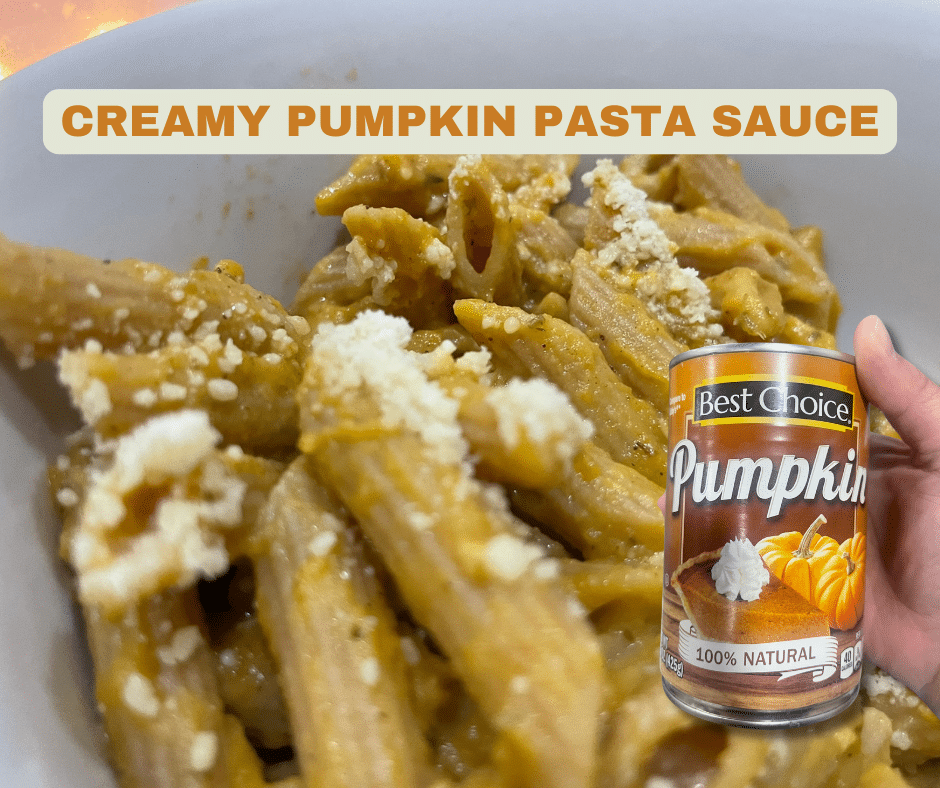
Pumpkin Pasta Sauce is a great way to introduce a new flavor to your family’s meals while also sneaking in some extra veggies!
Why Pumpkin Puree?
Pumpkin puree isn’t just for pies and lattes! Canned pumpkin is an excellent source of vitamins A and C, both of which support immune health, vision, and skin health. It’s also rich in fiber, which is great for digestion and helps keep little tummies feeling full longer. Best of all, it’s incredibly easy to use in a variety of dishes, and it’s something you can stock up on thanks to WIC benefits.
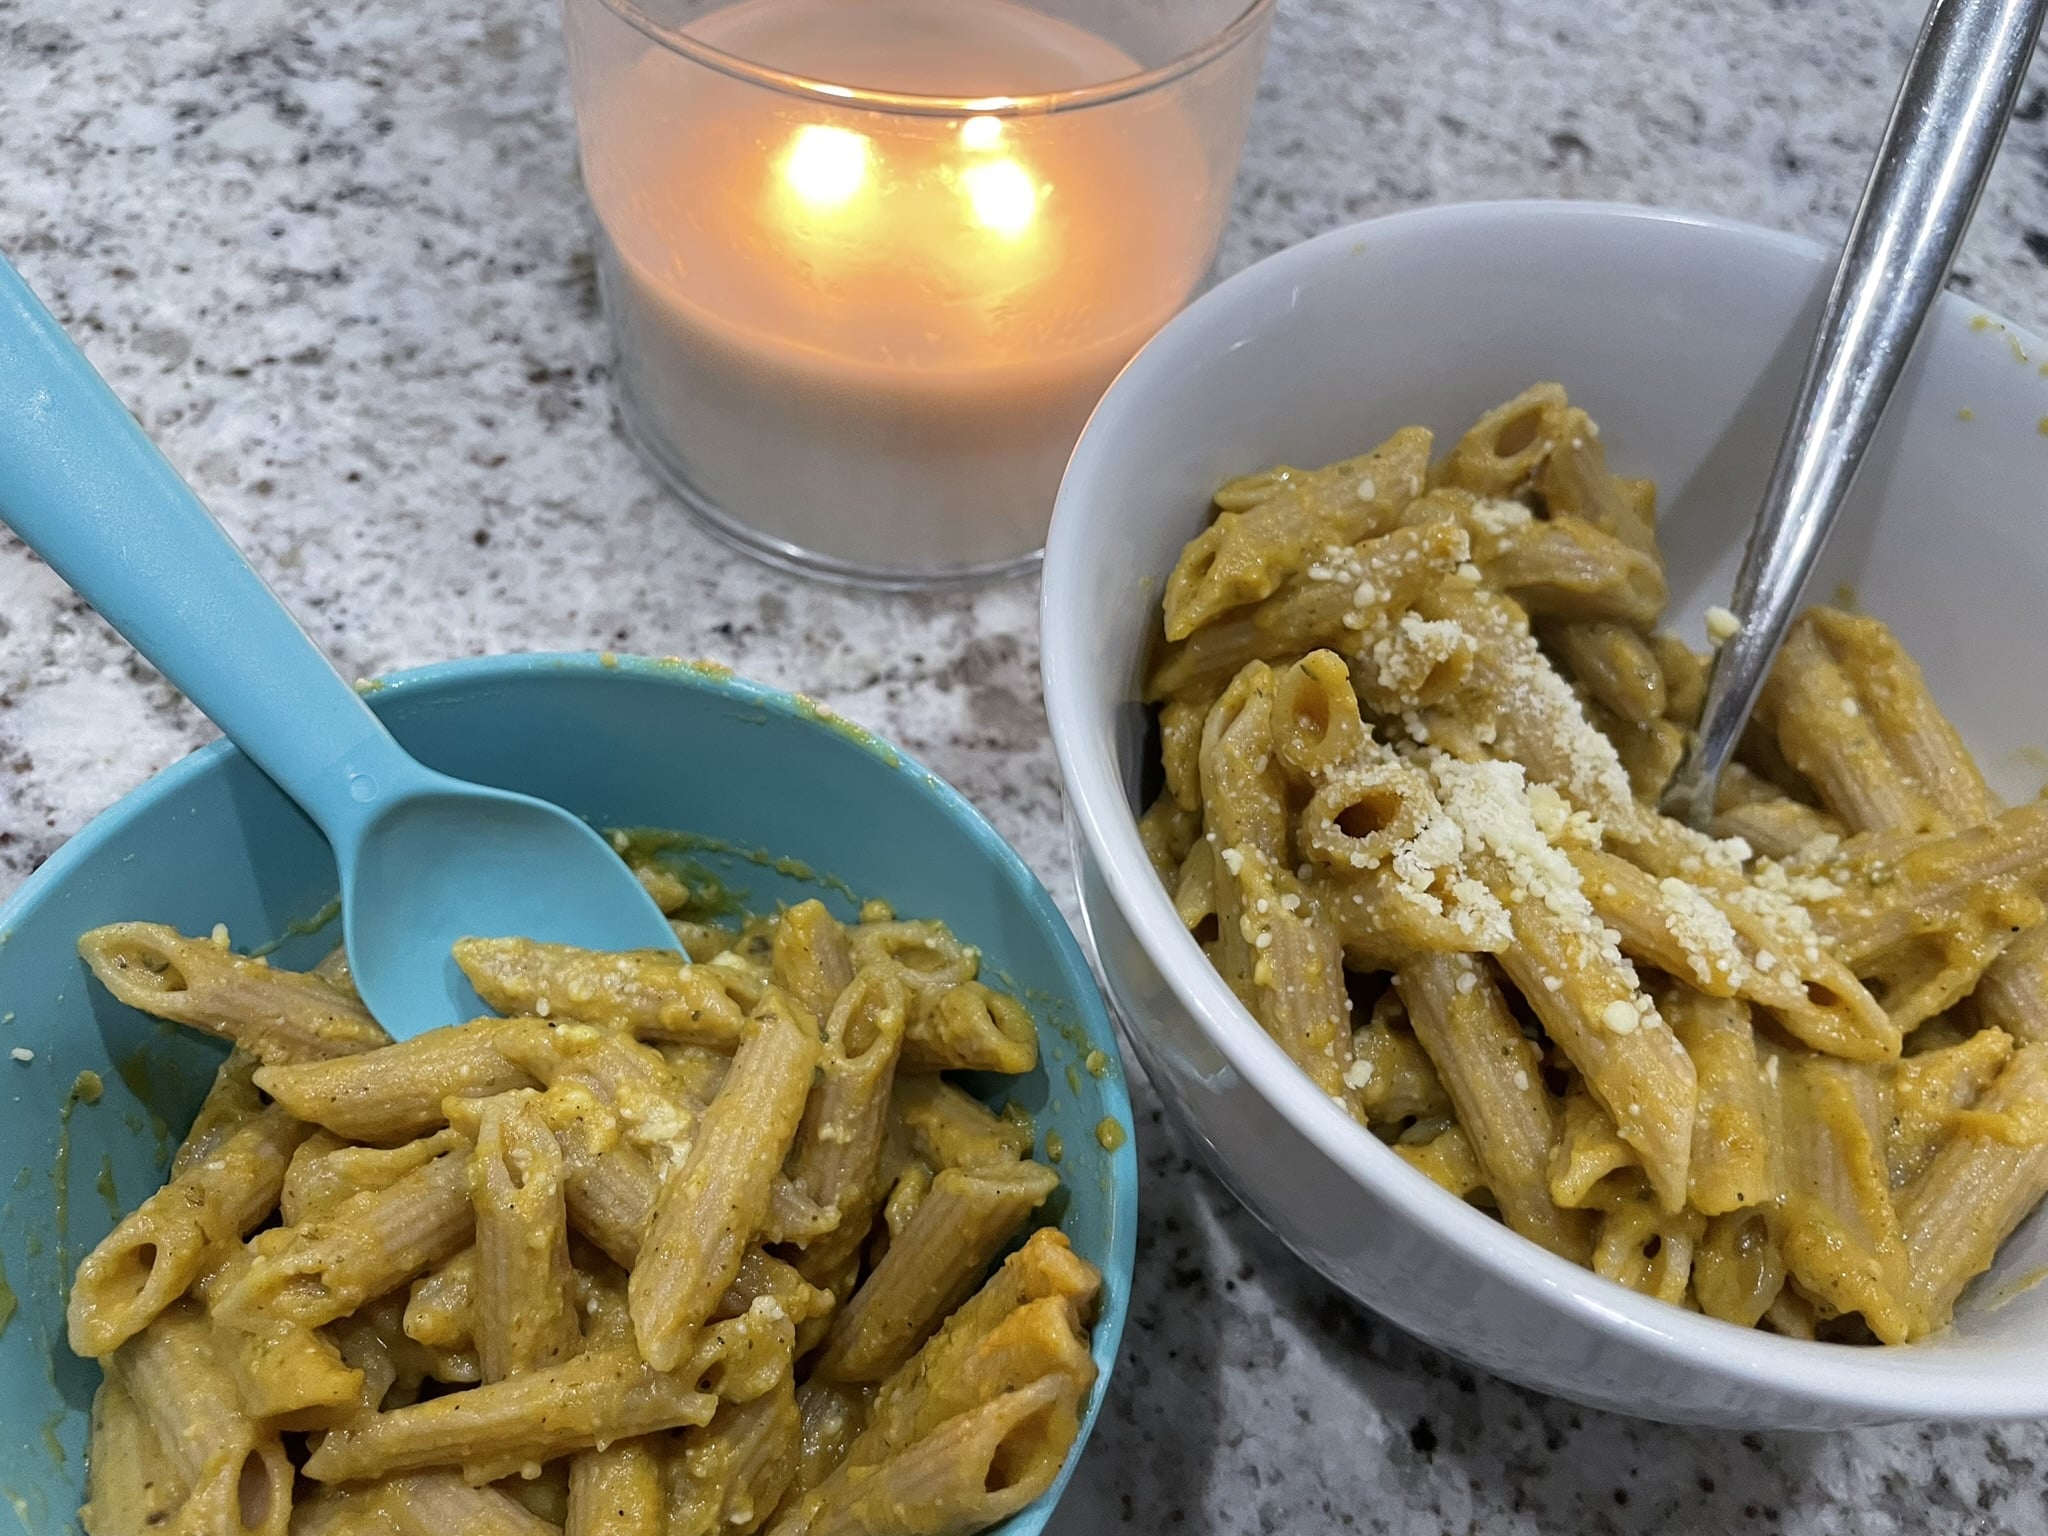
This Pumpkin Pasta Sauce recipe is simple to make and a perfect way to introduce your little ones to the flavors of autumn all year round. It’s creamy, slightly sweet, and savory, and it pairs perfectly with any type of pasta!
A Creamy Pumpkin Pasta Sauce
1 can (15 oz) of canned pumpkin puree
1 cup of low-fat milk
1 tablespoon olive oil
2 cloves garlic, minced
1 teaspoon dried oregano
1 teaspoon dried basil
1/2 teaspoon ground cinnamon (optional, but adds a lovely warmth)
Salt and pepper to taste
1/4 cup grated Parmesan cheese (optional, for extra creaminess and flavor)
8 oz pasta (spaghetti, penne, or your favorite pasta shape)
Cook the pasta according to package directions.
While the pasta is cooking, heat the olive oil in a large skillet over medium heat. Add the minced garlic and sauté for about 1 minute, or until fragrant. Stir in the canned pumpkin puree and let it heat up for 2-3 minutes, stirring occasionally. The pumpkin will start to soften and blend with the garlic. Slowly add the milk, stirring continuously to combine it with the pumpkin. If the sauce feels too thick, you can add a little of the reserved pasta water to reach your desired consistency. Add the seasonings and stir everything together, and let the sauce simmer for another 5 minutes.
Once your sauce is creamy and well-seasoned, add the drained pasta directly to the skillet. Toss the pasta in the sauce to coat it evenly. If you like your pasta saucier, add a bit more milk or pasta water to adjust the texture.
Plate the pasta, sprinkle with grated Parmesan cheese if desired, and serve immediately. You can also add a side of veggies or a simple salad to complete the meal.
This Pumpkin Pasta Sauce is an excellent way to introduce your family to the wonders of pumpkin, and it’s an easy meal that you can feel good about serving.
Visit Grocery Services North for easy WIC grocery shopping, and pick up a few cans of pumpkin puree and give this simple recipe a try. Your kids will love it.
The holidays are here, and it’s the perfect time to make some fun, tasty memories with your family! As a busy mom, you know how important it is to find quick, budget-friendly ways to keep the holiday spirit alive.
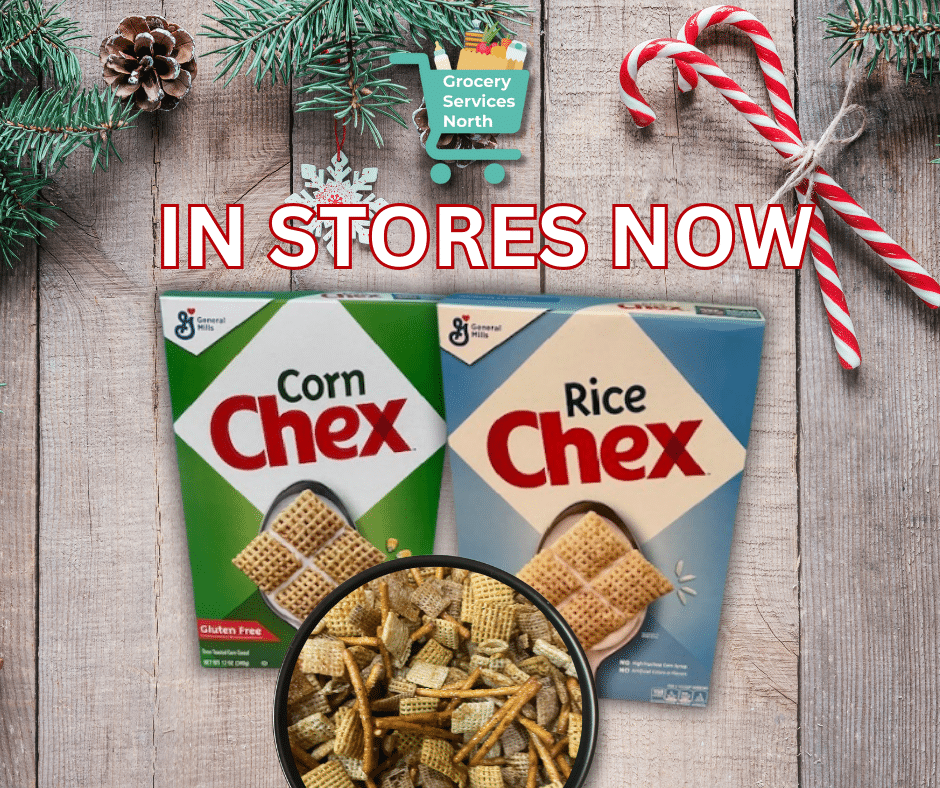
Chex™ cereal, which is WIC-approved, is a cereal that is perfect for making a snack mix.
Ready for some holiday treat inspiration? Here is a recipe from BettyCrocker.com:
Slow Cooker Chex™ Mix
3 cups Corn Chex™ cereal
3 cups Rice Chex™ cereal
2 cups Wheat Chex™ cereal
2 cups bite-size pretzels
6 tablespoons melted butter
2 tablespoons Worcestershire sauce
1 1/2 teaspoons seasoned salt
3/4 teaspoon garlic powder
1/2 teaspoon onion powder
In oval 5- to 6-quart slow cooker, stir together cereals and pretzels.
In small bowl, mix melted butter, Worcestershire sauce and spices with whisk until well combined. Pour over cereal mixture; stir until evenly coated.
Cook uncovered on High heat setting 2 hours, stirring every 20 minutes.
Spread cereal mixture on ungreased cookie sheet or sheet of waxed paper. Cool 3 to 5 minutes before serving.